Windows 11 has been released, and you're probably eager to get your hands on it. It doesn't matter if your computer isn't telling you that the update is available. You can download Windows 11 manually, and we're going to show you how 4 different ways to get it.
Most Windows 10 devices that are compatible will be upgraded via Windows Update. Downloading Windows 11 offers a couple of new options, including the ability to install everything from scratch, or to install the operating system on more than one device without having to download the setup file each time the upgrade is run.
How to download Windows 11
Option 1 - Windows 11 Installation Assistant
If you are upgrading your PC from Windows 10, this is the simplest way to get it done. Download the Windows 11 Installation Assistant from the official website.
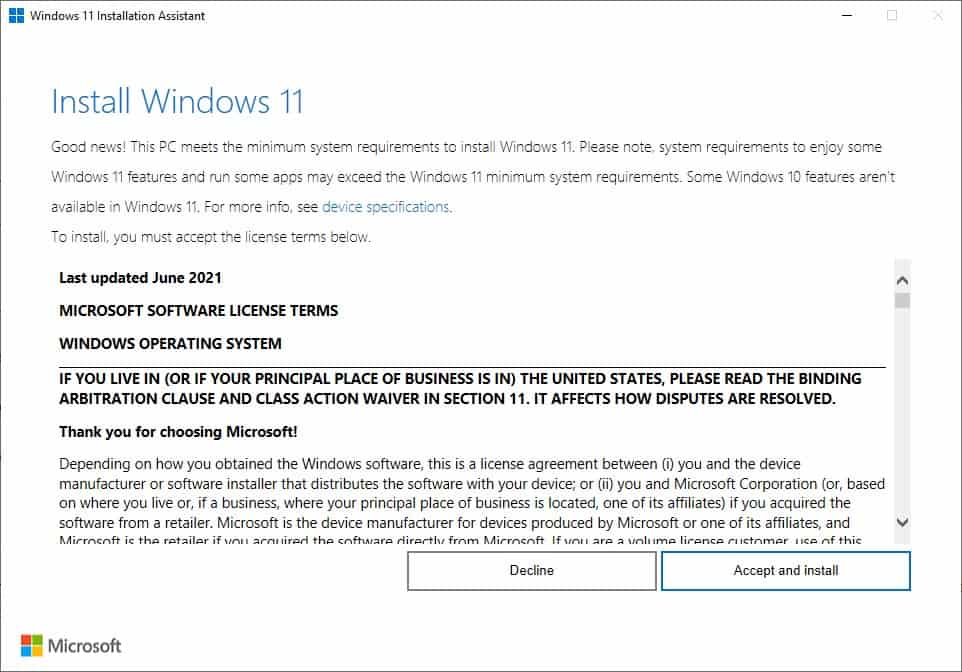
Run the Windows11InstallationAssistant.exe, and it will check if your PC is compatible with the new OS. If it is, the setup will offer to download and install Windows 11 on your computer.
There are ways around the compatibility checks.
Option 2 - Windows 11 Installation Media
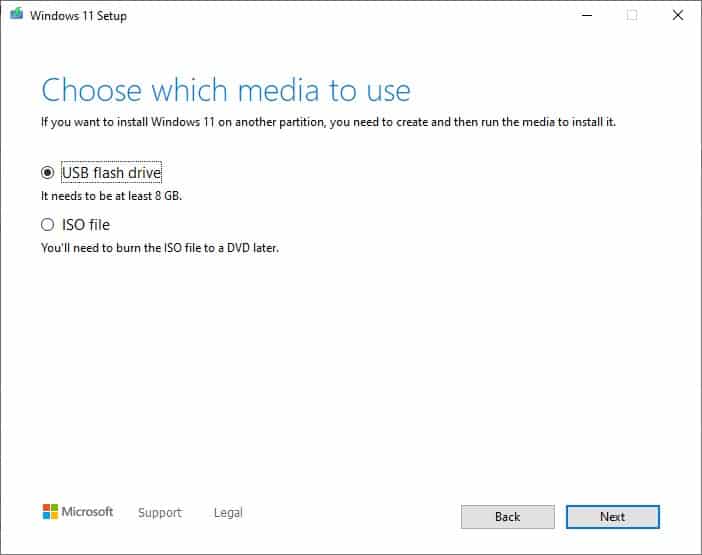
This process is somewhat slower, and requires manual selection of some options. Download the Windows 11 Installation Media (it's the new name for the Media Creation Tool) from Microsoft's website.
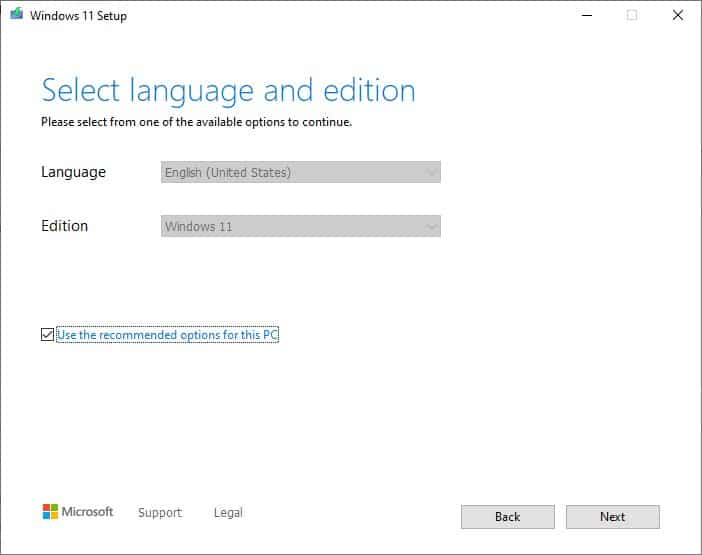
Open the MediaCreationToolW11.exe, and follow the on-screen instructions. If you're creating a bootable USB Drive, make sure it has a storage capacity of 8GB or more.
Option 3 - Download the Windows 11 ISO
Microsoft is providing an official Windows 11 ISO that you can download without the Media Creation Tool. You'll be asked to select the language of the OS, before you can download the image.
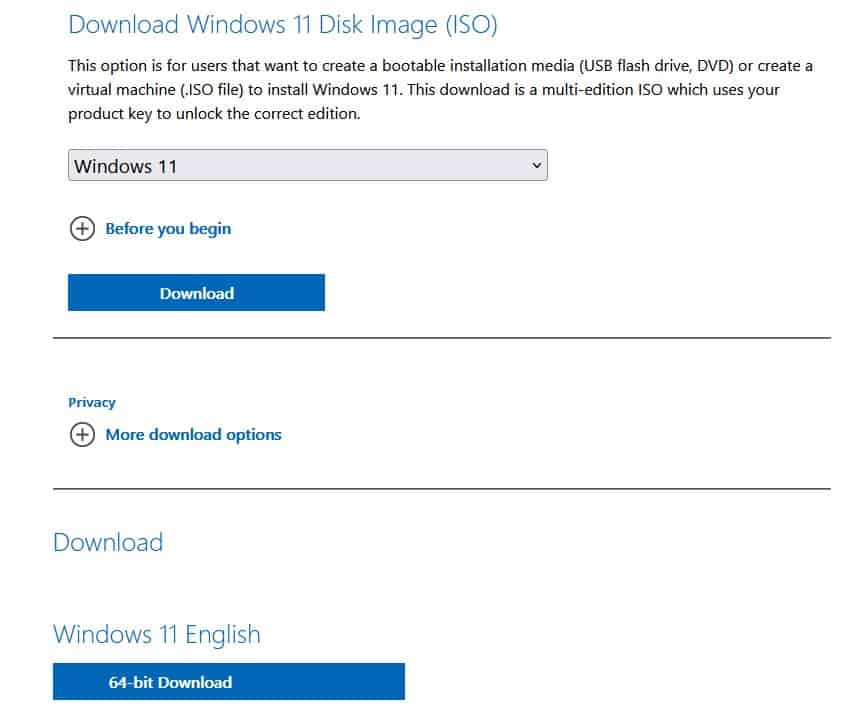
Use it to install the operating system in Virtual Machines, to create Bootable media, or to update multiple computers.
Option 4 - Use the Universal MediaCreationTool Wrapper
1. Visit the tool's GitHub page and click the Download ZIP button in the top right corner. You can also check out Martin's full review of MediaCreationTool Wrapper here.
2. Extract the contents of the archive to a folder. The ZIP file has a really long alphanumeric name. I have changed the name of the folder for the sake of this tutorial.
3. Open the directory, and right-click on the file named MediaCreationTool.bat, and select run as Administrator.
4. Accept the UAC prompt that appears, and a Powershell window should open along with a pop-up menu (called MCT Version). It lists various Windows Builds that you can download. Since we want to download Windows 11, you have to click the "11" button at the bottom of the list.
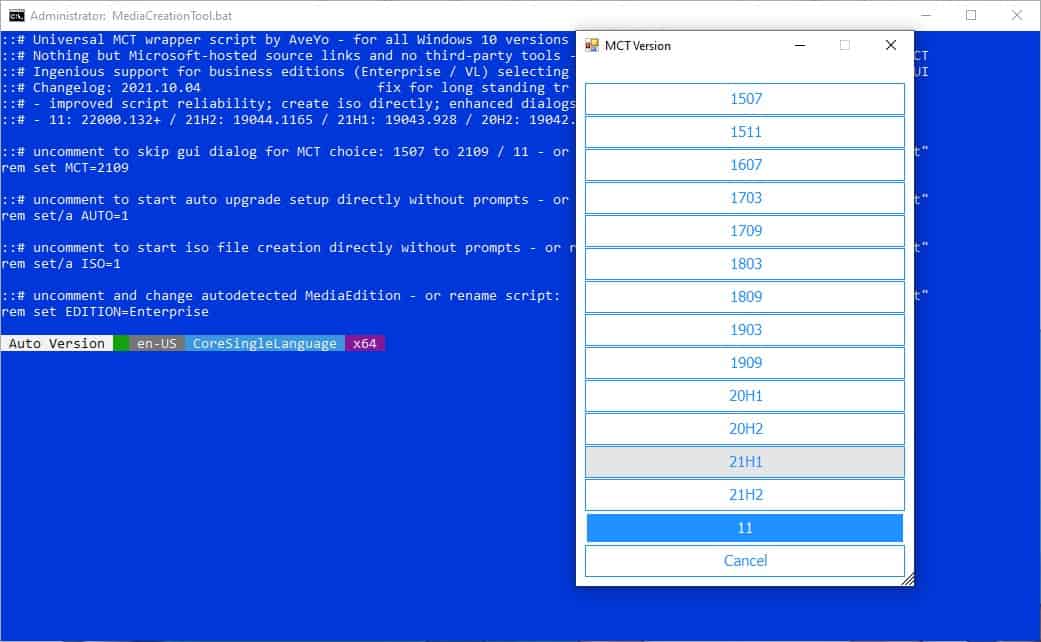
5. On the next screen, you have various options such as Auto Setup, Create ISO, Create USB, Select in MCT.
Auto Setup allows you to upgrade Windows without making any selections or changes. Create ISO downloads the Windows 11 image and lets you upgrade manually. It can also be useful, if you want to upgrade multiple computers. Or. if you want a bootable USB drive, you can go with the Create USB option. The last option, MCT, uses, the official Media Creation Tool's options to fetch the image.
The ISO option should be a good one for most users. When you have made your selection, the command window will display a line of code or two, and closes automatically, after which the Windows 11 Setup will start downloading the ISO. The image is saved in the same folder that you extracted the archive's contents to. When you use the image to install Windows 11, it will automatically detect the version that you have, i.e., whether your operating system is a Home or Pro edition, and upgrade it accordingly.
Now that you have a copy of Windows 11 ready to install. The problem is, if you try running the setup file, it will still fail. That's because the installer checks for TPM 2.0 as well. Don't worry, we can help you install Windows 11 without TPM 2.0.
Thank you for being a Ghacks reader. The post How to download Windows 11 appeared first on gHacks Technology News.

0 Commentaires