Most Windows users find the regular Windows 10 and 11 automatic updates frustrating. Thankfully, you can now control this and install all Windows updates as per your schedule. Read on to learn how to stop automatic updates from Windows 10 and 11.
Preventing Auto Update Download on a Specific Connection
If you set your connection as metered, Windows will not download updates automatically on this connection. By default, Windows sets cellular data and other connections as metered and does not download updates on such connections. You can now change any connection and set it as metered.
To do this, open your settings and click on network and internet and then wifi. Click the wifi name you're connected to and click on the switch that says 'set as metered connection.' You will find this on the properties page for Windows 10. For Windows 11, there will be a switch next to metered connection. While this setting only affects the current network you're on, Windows will remember this for all networks.
If you're on a wired network, open settings, head over to network and internet, and then click on ethernet. Click the name of your connection and enable the button under 'set as metered connection.'
When you enable this option, Windows will give a message stating that updates are available and it will be downloaded when you're connected to a wifi network. Marking a connection as metered tricks Windows into thinking you're using mobile data for your computer. You can then download and install all updates at your convenience.
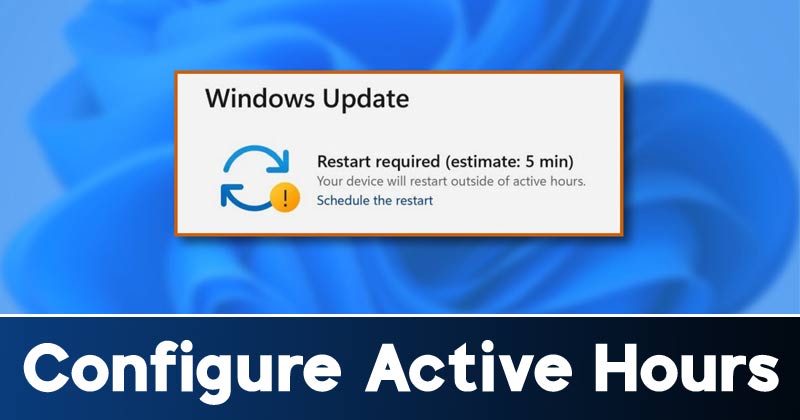
Stop Automatic Rebooting
Some users don't have a problem with automatic downloads, they don't like their system restarting to bring updates into effect. This is where your active hours come in. When you set your active hours, Windows will not restart your system at that time.
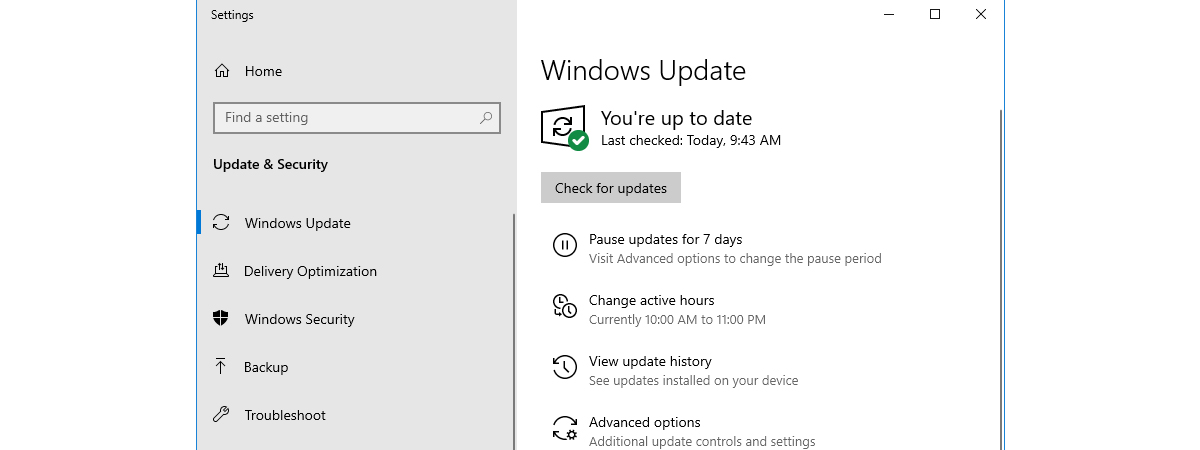
To set active hours for Windows 10, go to settings and then click on update and security, and then windows update. Click on the change active hours option and set the time when you don't want your system to restart.
To set active hours for Windows 11, you need to head to settings and update and security and from there, click on advanced options. You can choose your active hours here.
Don’t Let Automatic Updates Frustrate You Anymore
Now that you know how to disable automatic updates, you should be able to enjoy your Windows 10 and 11 system without pesky updates causing your system to restart.
Thank you for being a Ghacks reader. The post How to Prevent Windows 10 or 11 From Automatically Downloading Updates? appeared first on gHacks Technology News.


0 Commentaires