macOS 13 Ventura, which was released this week, brought a wide range of improvements across the operating system. Let's see what the new features were added in the Notes app.
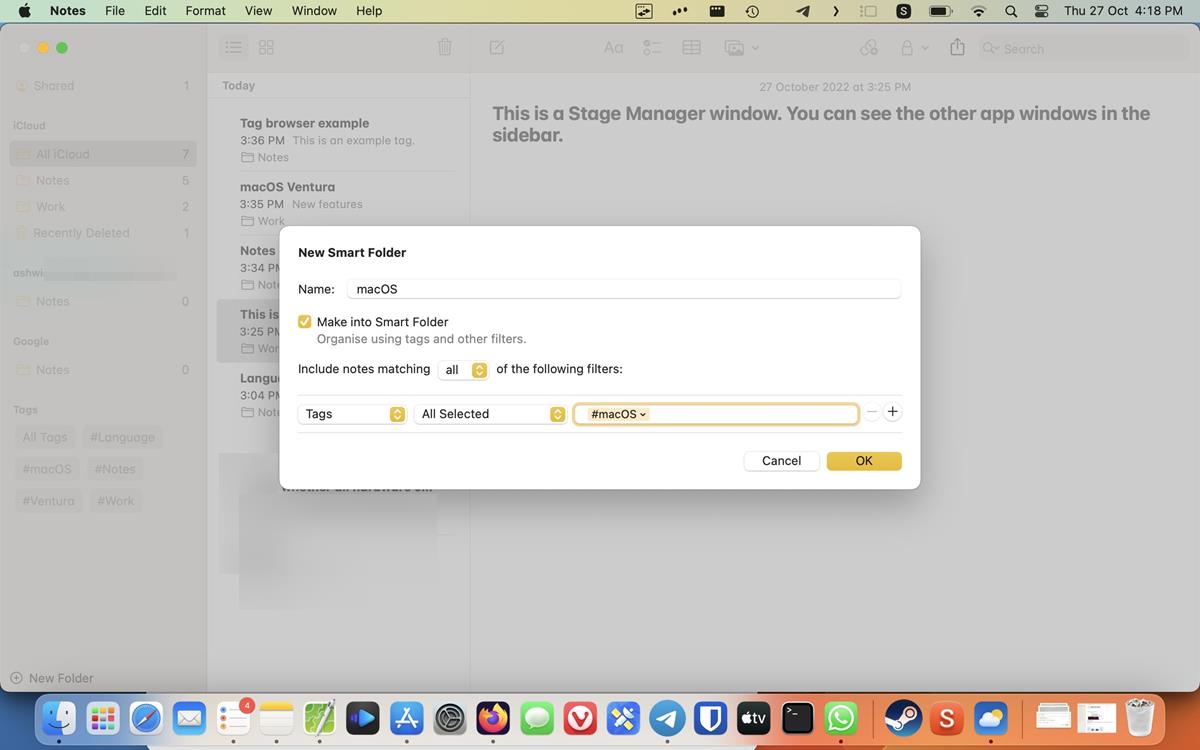
What's new in the Notes app in macOS Ventura
Enhanced Smart Folders
The Notes app can organize your notes automatically in a Smart Folder. To use it, create a new folder, you will be able to select an option to make it a Smart Folder.
Click on the drop-down menu in the bottom left corner to see a list of filters: Date Created, Date Modified, Shared, Mentions, Checklists, Attachments, Folder, Quick Notes, Pinned Notes, and Locked notes.
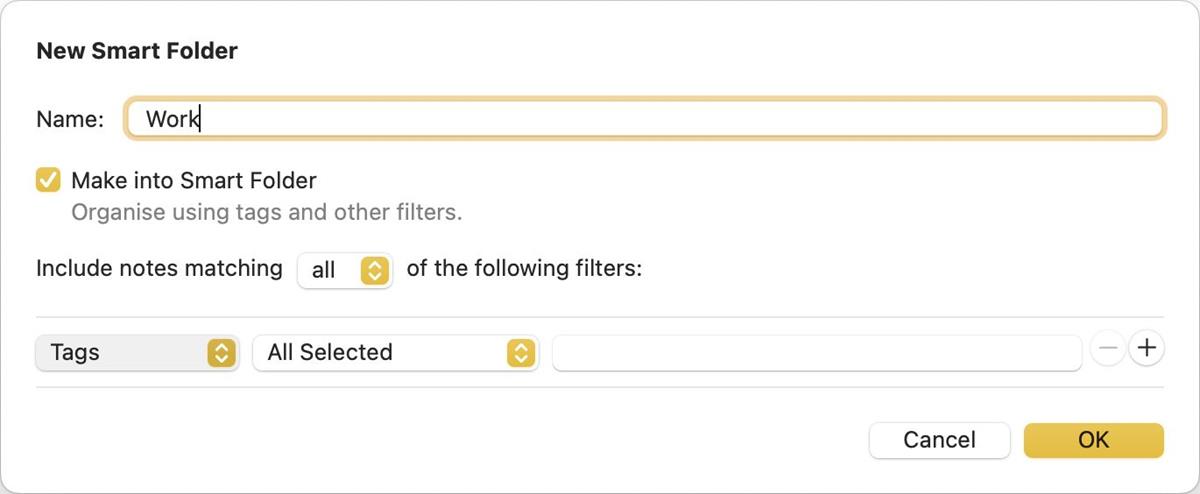
Select a filter, and click on the next drop-down menu, and choose whether to include or exclude the filter that you picked. Click the OK button to apply the settings. You can apply multiple rules to a Smart Folder by clicking the + button, or remove them with the - button.
Lock your Notes with a password
The Notes app isn't just for productivity, many people use it for day-to-day tasks. If your notes contain personal information, you may want to protect it from prying eyes.
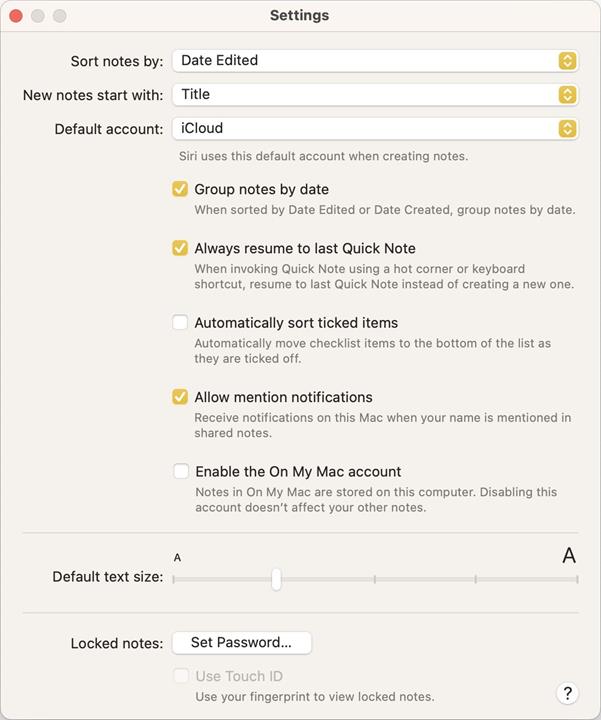
macOS 13 Ventura brings a new way to protect the Notes app, with your login password. Go to the app's Settings page, and you will see an option called Locked Notes. Click on the Set Password button to set it up. It uses your login password by default, i.e., the one you use to access your computer.
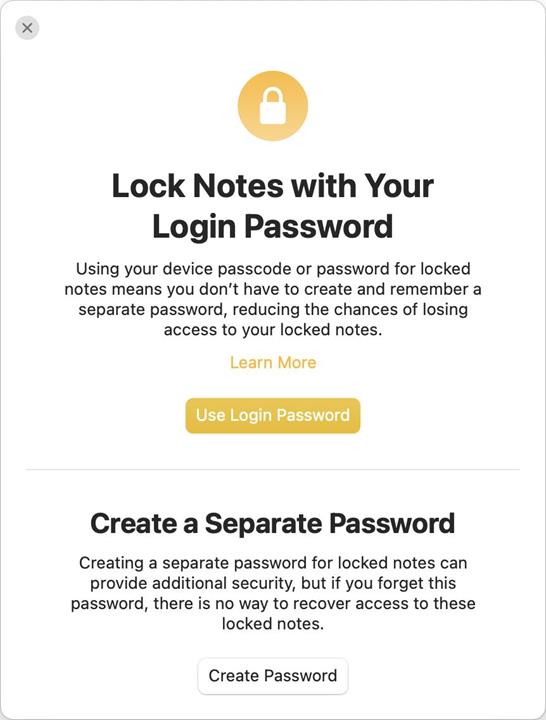
You may, however, set a separate password for it. This can be useful if you are sharing the computer with someone. Apple also allows users to unlock their notes using FaceID or TouchID, this is optional. Which one should you use? It depends on whether you'd like to sync your Notes to iCloud. The default option syncs using iCloud Keychain. It provides an extra layer of security by encrypting the data before it leaves your Mac, i.e., end-to-end encryption.
The alternative, which is the separate password option, secures your notes locally on your computer. This password cannot be recovered through your Apple account, which means you will lose access to your notes if you forget it. There are 2 ways to reset it. You can use the password hint that you used while enabling the feature, to set a new password. If you had enabled unlock with TouchID, you may use it to reset the password.
It is worth mentioning that locked notes can only be accessed on devices with OS X 10.11.4 or later, iOS 9.3 or later, or iPadOS 13 or later. If you have an older device that doesn't match these requirements, you will not be able to view your notes with it.
How to lock a note in the Notes app in macOS Ventura?
To protect a note, select it and click the Lock icon in the toolbar. Or, you can right-click on a note in the sidebar and select Lock Note.
Notes are grouped by date
The Notes app lists your notes by grouping them chronologically, i.e., grouped by date. For example, your recent notes will be listed under Today, Yesterday, Previous 7 Days etc. If you don't this automatic sorting behavior, you may disable it from the Settings page, uncheck the option that's labeled "Group Notes by date."
Tag Browser
macOS Ventura's Notes app displays your folders and tags in the sidebar. Click on a specific tag, to view all notes that contain the tag.
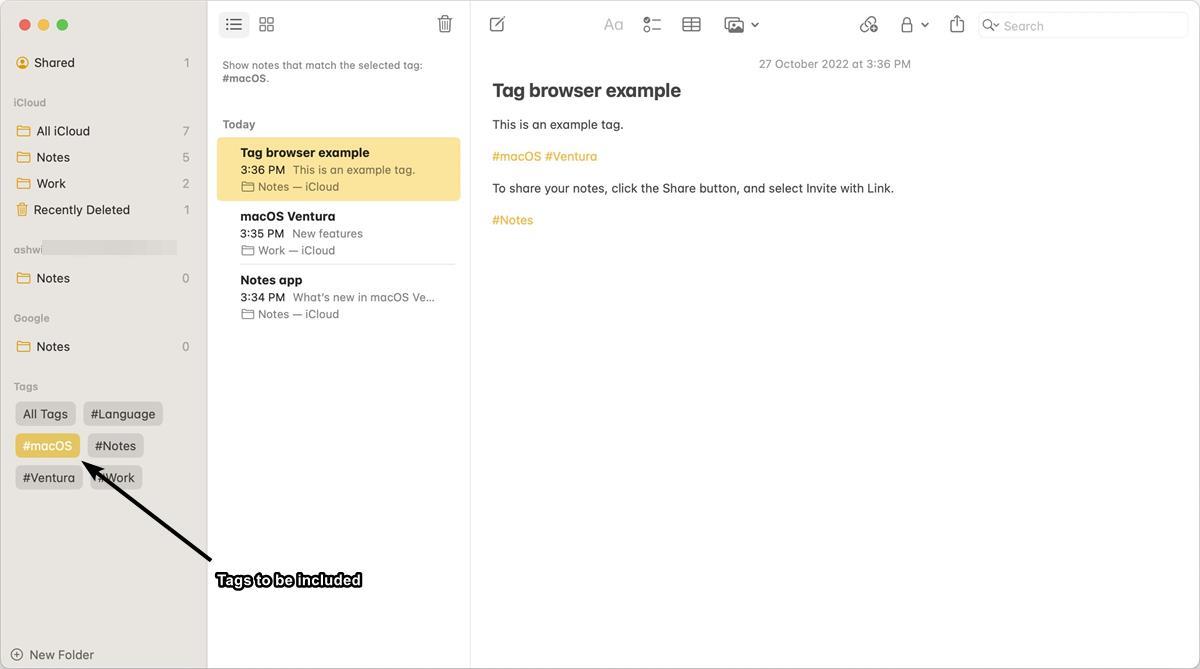
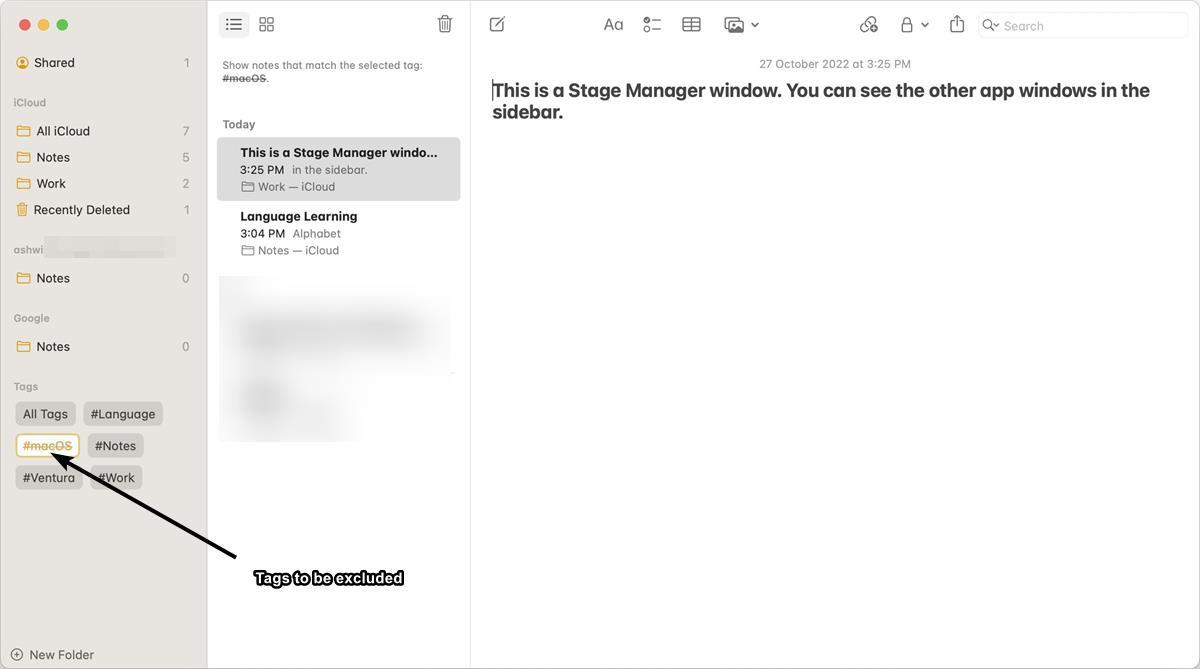
Double-click on a tag to view notes that don't contain the selected tag, this option is useful if your notes have multiple tags, and you want to narrow it down to a single one.
Collaborate with a link
The Notes app now allows you to share your notes with your friends and colleagues by inviting them with a link.
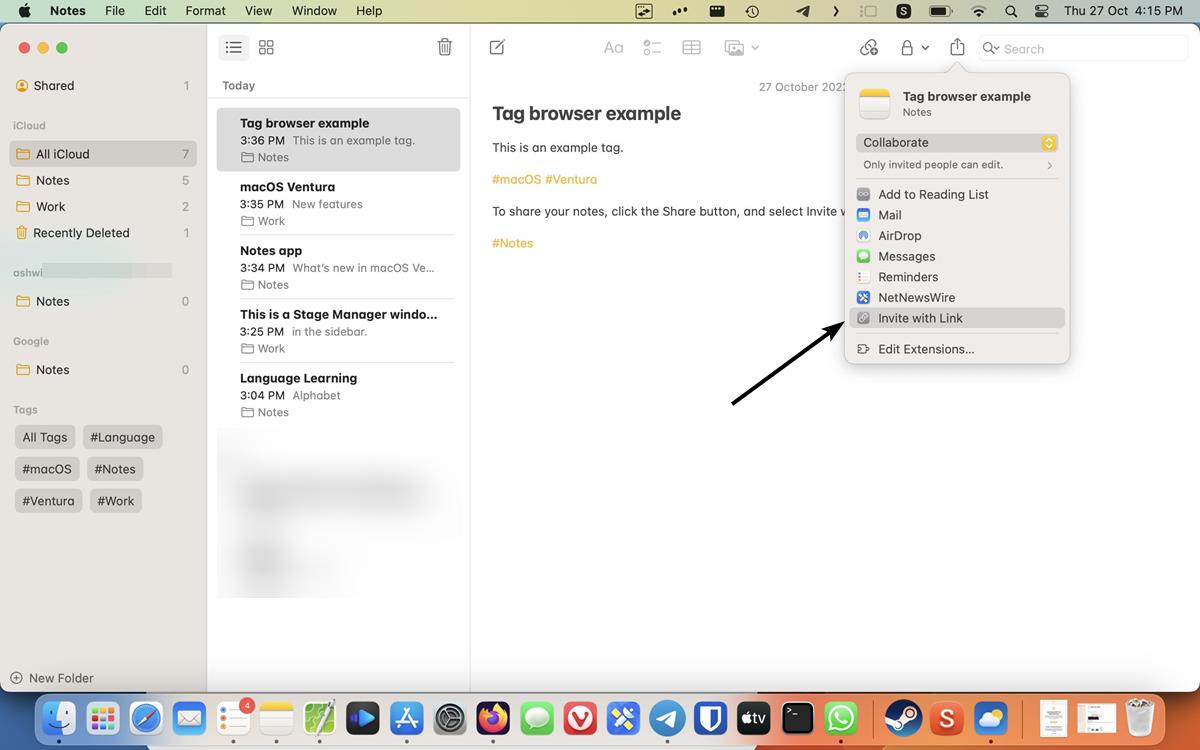
Open a note, and click the Share button in the toolbar. Select the Invite with Link option, and a panel will pop up.

Enter your friend's email address in the To section, and click the Copy Link button. Send the link to your friend, and they will be able to view and edit the note with you.
Note: The link is shared via iCloud.
Which Notes app feature do you like?
Thank you for being a Ghacks reader. The post Here are the new features in the Notes app in macOS 13 Ventura appeared first on gHacks Technology News.

0 Commentaires