Capturing screenshots on your Windows 10 or 11 device is a common practice that can be useful for a variety of purposes, including documenting software bugs, creating tutorials, or sharing information with others. There are various methods to capture screenshots on your Windows device, each with its own unique set of features and functionalities.
In this article, we will explore different ways to capture screenshots on Windows, including using the built-in Snipping Tool and Game Bar, pressing the PrtSc key, and using third-party screenshot applications. By the end of this article, you will have a better understanding of how to capture high-quality screenshots quickly and efficiently.
Use the Snipping Tool
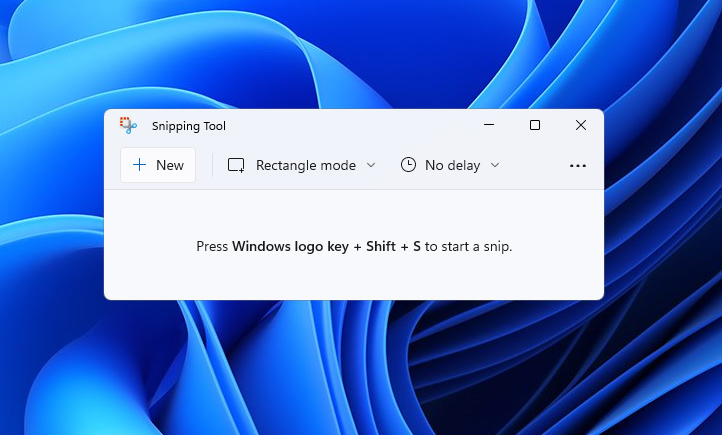
- To capture a screenshot on Windows, use the Snipping Tool application.
- Access the Snipping Tool by navigating to the Start menu and searching for it in the search bar.
- The Snipping Tool offers a variety of screenshot methods to choose from, including Rectangle Snip, Freeform Snip, Window Snip, and Fullscreen Snip.
- These options are located at the top of the Snipping Tool overlay.
- Select the method that best fits your requirements.
- Use your cursor to select the region you want to capture.
- Once you've positioned your cursor over the desired region, release the cursor to capture your snapshot.
The Snipping Tool makes capturing high-quality screenshots a simple and efficient process.
Related: How to open registry editor on Windows 11

Use the PrtSc key
- To take a screenshot on your computer, use the PrtSc (Print Screen) key.
- The PrtSc key is typically located in the top row of your keyboard, near the function keys.
- To capture a screenshot using the PrtSc key, simply press and hold the key.
- This will capture a screenshot of your entire screen and save it to your clipboard.
- From there, you can paste the screenshot into an image editor or document of your choice.
Using the PrtSc key is a convenient and easy way to capture screenshots quickly and efficiently. By using this method, you can capture and share information and visuals with others effortlessly.
Use the Game Bar
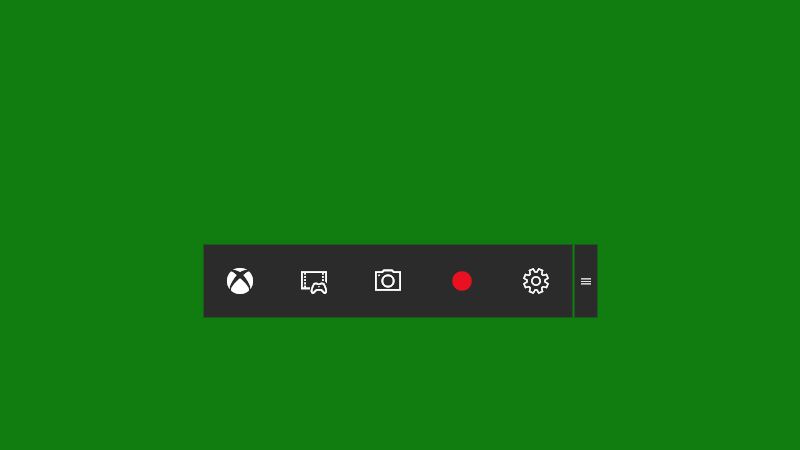
- To access the Game Bar, press the Win + G key combination on your keyboard.
- Navigate to the Capture area, located in the top-left corner of the screen.
- Use the Take screenshot option to capture a screenshot of your current screen.
- Use the Record button to capture a video of your screen or take a screenshot of a specific window.
Using the Game Bar to capture screenshots and videos is a useful and straightforward method. This method is particularly helpful for those who need to capture images or video footage for presentations, tutorials, or work-related purposes. The Game Bar's built-in features make it easy to capture high-quality visuals quickly and effortlessly.

Search the internet for a third-party solution
If you're looking for a more feature-rich screenshot application, you may want to consider searching for one on the internet. There are various screenshot apps available, each with their own unique set of features and functionalities.
To find a screenshot app that suits your needs, you can perform a simple search on the internet using your preferred search engine. You can use keywords such as "screenshot app," "screen capture software," or "screen recording tool" to find relevant results.
Once you have a list of potential screenshot apps, you can compare their features, pricing, user reviews, and ratings to determine which one is the best fit for you. Some popular options include Snagit, Greenshot, Lightshot, and ShareX, among others.
By using a dedicated screenshot app, you can have more control over your screenshots, including the ability to annotate, edit, and save them in various formats. This can be especially useful for professionals who require high-quality screenshots for their work or personal projects.
Related: Windows 11 File Explorer is getting a Recommended section
Screenshots made simple
There are various methods to capture screenshots on your Windows 10 and 11 devices, including using the built-in Snipping Tool or Game Bar, pressing the PrtSc key, or using a third-party screenshot application. Each method has its own unique set of features and functionalities, allowing you to capture high-quality visuals quickly and effortlessly. By choosing the method that best fits your needs, you can streamline your workflow and enhance your productivity when it comes to capturing and sharing information and visuals with others.
Thank you for being a Ghacks reader. The post How to Capture Screenshots on Windows 10 and 11 appeared first on gHacks Technology News.
0 Commentaires