Do you want to try macOS Ventura 13 public beta before the stable release comes in September? Well, here's your chance to test the new features. Apple published public betas of iOS 16 and iPadOS 16 today as well.
Please take a moment to read this article to see if your MacBook, iMac or Mac Mini is eligible for the upgrade to the new operating system. In case your device is not compatible with Ventura, keep an eye on the third-party tool, OpenCore Legacy Patcher, for a way to update your unsupported Mac.
Do not install beta or developer versions of macOS on your primary computer. The stable version of the OS is expected to be released in September. I installed Ventura on an external SSD when the first Developer Beta was released, so I could test the new features without updating my MacBook's main drive to the beta. If you're really interested in trying out Ventura, you want to do the same.
How to install macOS Ventura 13 public beta
1. Visit this page on your Mac's web browser.
https://beta.apple.com/sp/betaprogram/
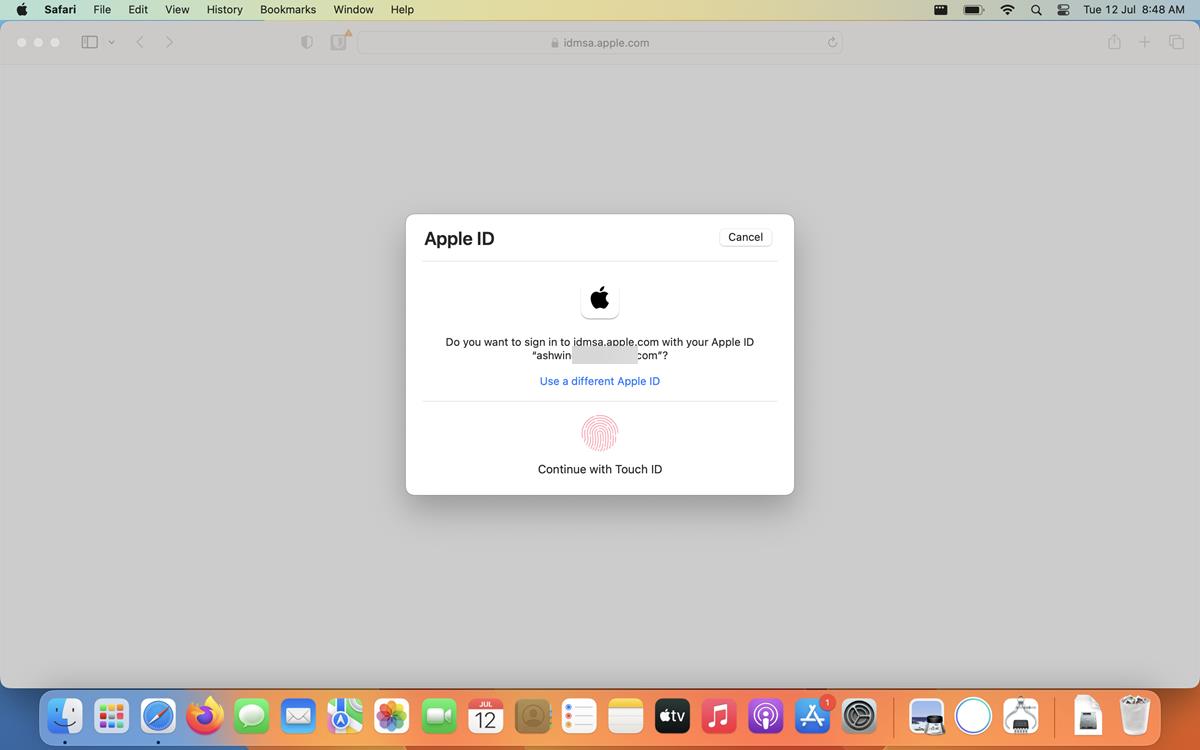
2. Click on the sign-in button. Safari will recognize the Apple ID that you're signed in to on your Mac, and allows you to use the device's password or Touch ID to sign in quickly on the site.
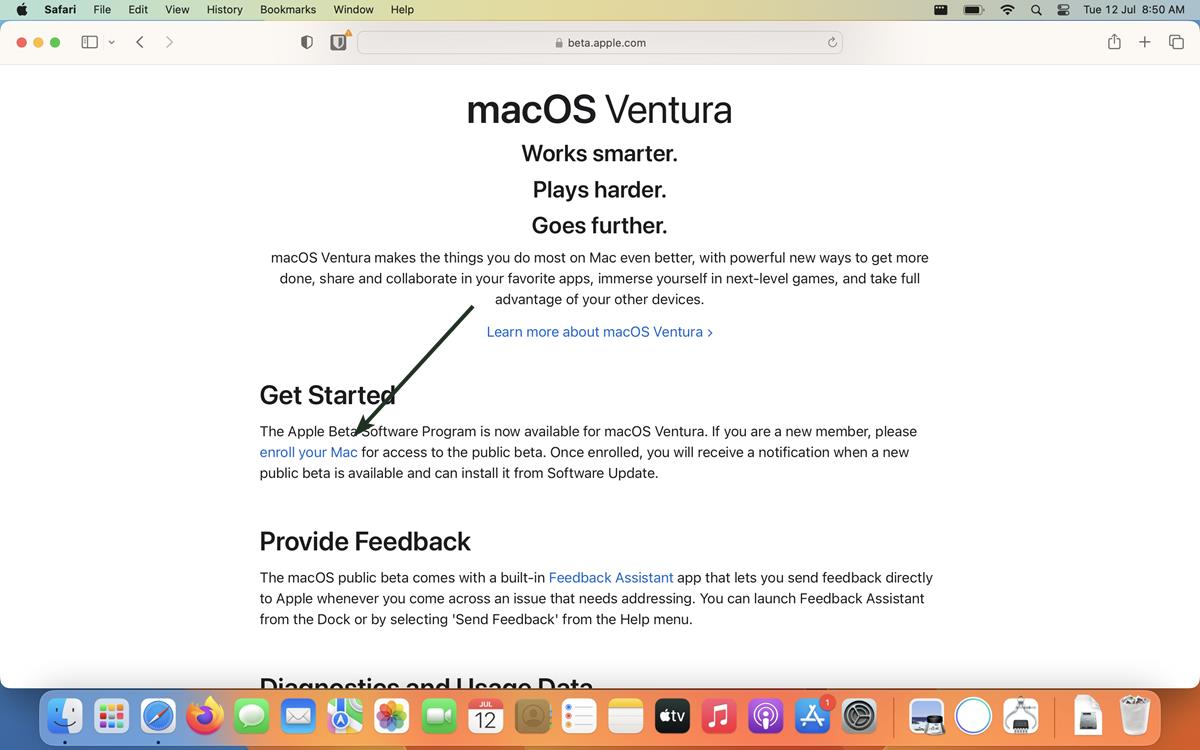
3. On the next page, select Mac as the option.
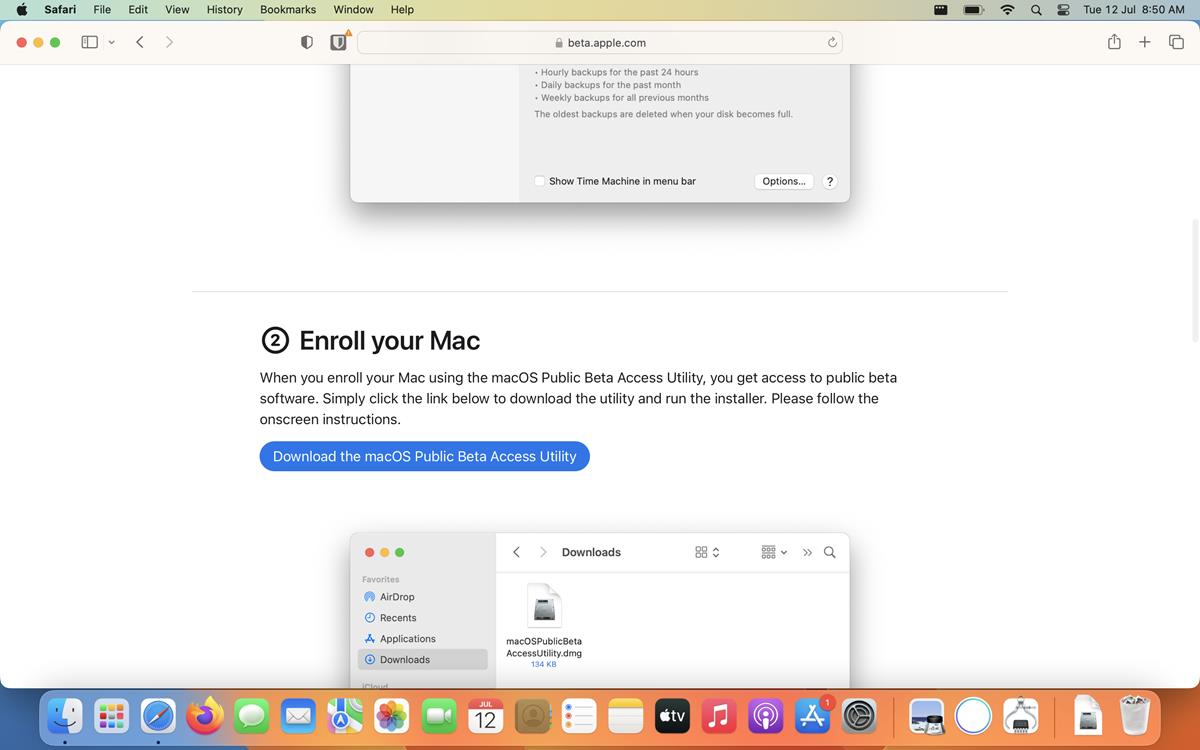
4. Now, you need to Enroll your Mac by downloading the macOS Public Beta Access Utility. Click on the button on the page to get the app.
5. Open the app, and it will advise you to backup your system using Time Machine. This is optional, but I strongly recommend that you do it just to avoid any issues during, or after the upgrade.
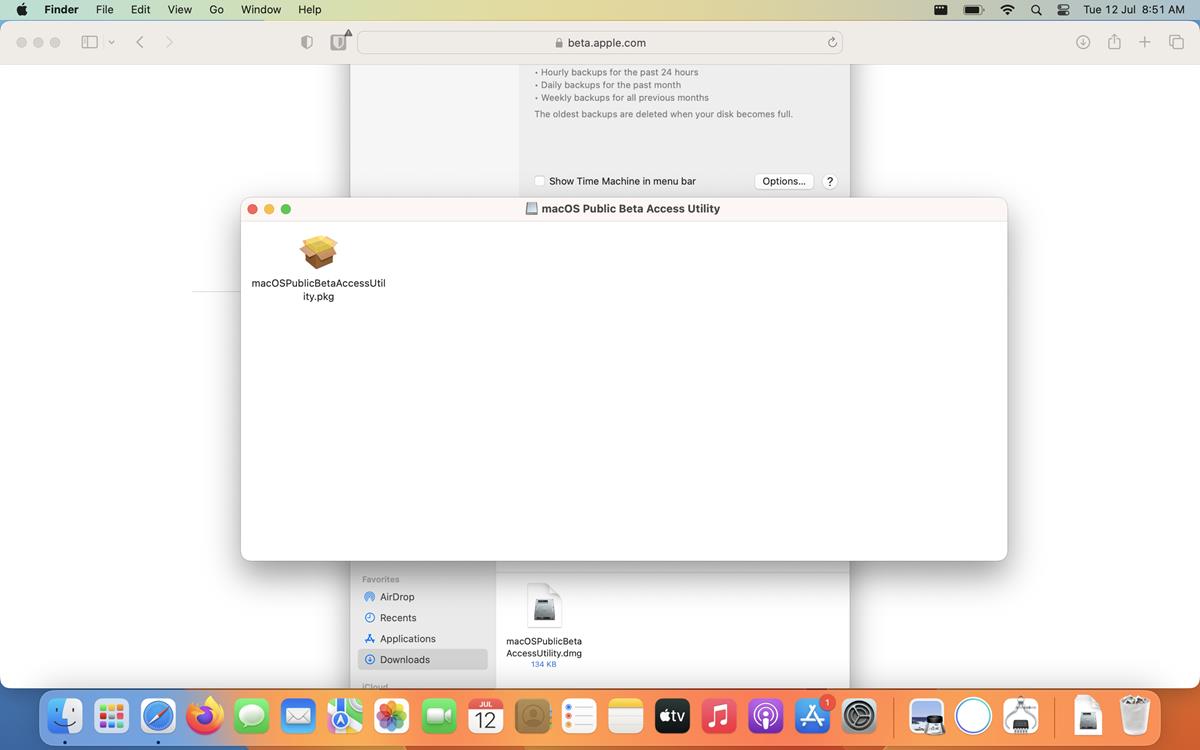
6. Accept the terms and conditions that are displayed on the screen, and click the install button. Authenticate the prompt with your password or Touch ID.
7. A pop-up will appear that lets you download macOS Ventura 13 public beta. Click the download button to proceed. Or, if you want to go the manual route, you can download it from the Software Update section via the Apple Menu or System Preferences page.
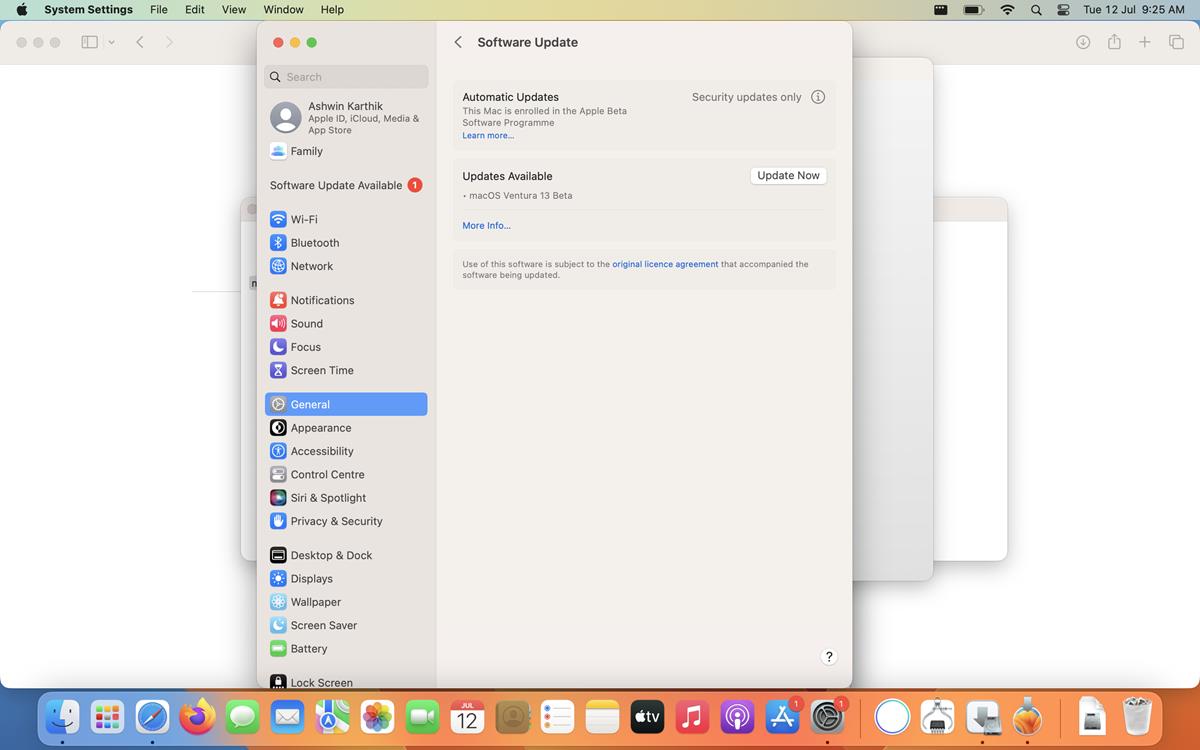
Note: The download size for macOS Ventura is around 13.03GB for the MacBook Air M1.
8. Once the utility has finished downloading the update, it will display another agreement, read the terms and accept them.
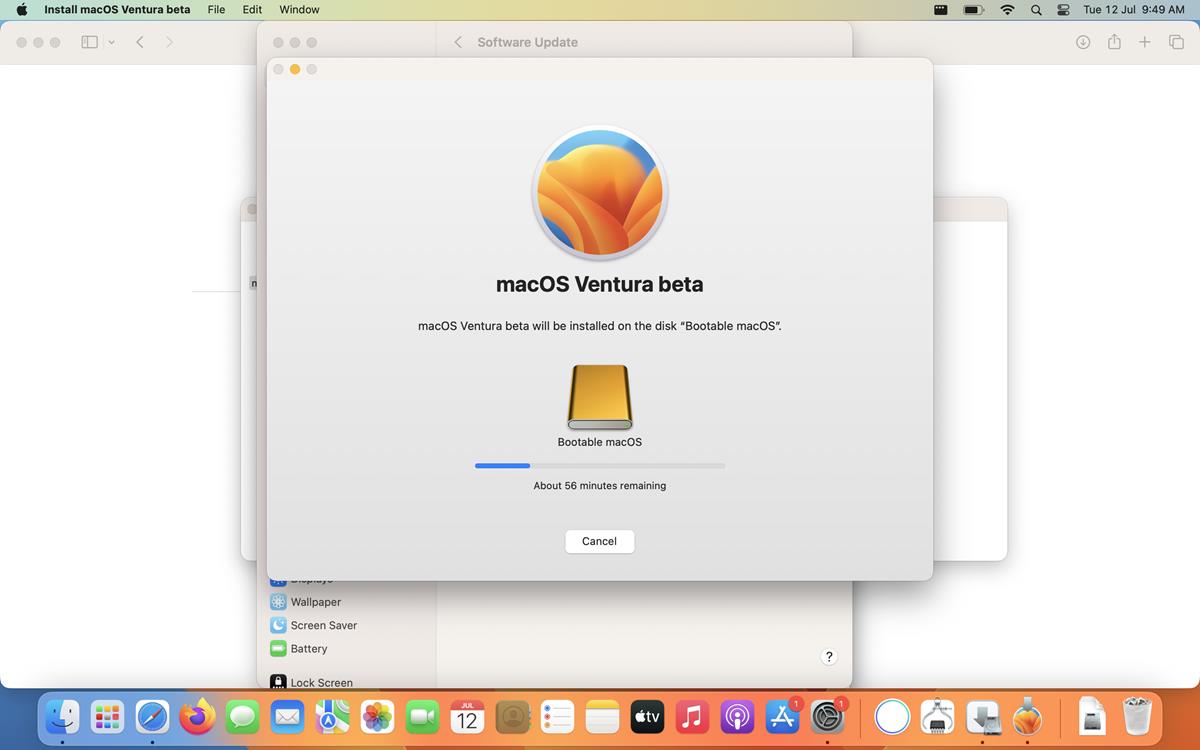
9. Your Mac will now ask you to choose the disk where you want to install the macOS Ventura 13 Public Beta to. If you have multiple containers or drives, select the appropriate option and hit the continue button.
10. Now it becomes a waiting game, as it takes a long time for the OS to get installed. Connect your MacBook to the wall charger to ensure it doesn't run out of juice during the process. The system will restart automatically a few times to finish installing the updates.
Congratulations, you now have the latest version of macOS on your machine.
Curious to learn more about the new features in macOS Ventura? Browse our articles to read about the new multi-tasking solution called Stage Manager, find out the new functions that have been added to Spotlight, take a look at the revamped System Settings app, learn about the various improvements in the Mail app, and discover how the Lockdown mode can help protect users from targeted spyware attacks.
Have you tried macOS ventura on your Mac? Share your experience and tips with us.
Thank you for being a Ghacks reader. The post How to install macOS Ventura 13 public beta on your MacBook, iMac and Mac Mini appeared first on gHacks Technology News.
0 Commentaires